


As promised here is the tutorial for the book card I made at the weekend. I do hope you find it easy to follow, and that I have written correctly. Please if you do find any mistakes will you let me know. I hope you enjoy making it as much as I did. Happy crafting
1. Cut 2 base cards each measuring 4inches by 81/2 inches
2. Cut 2 pieces of backing paper 8in x8in

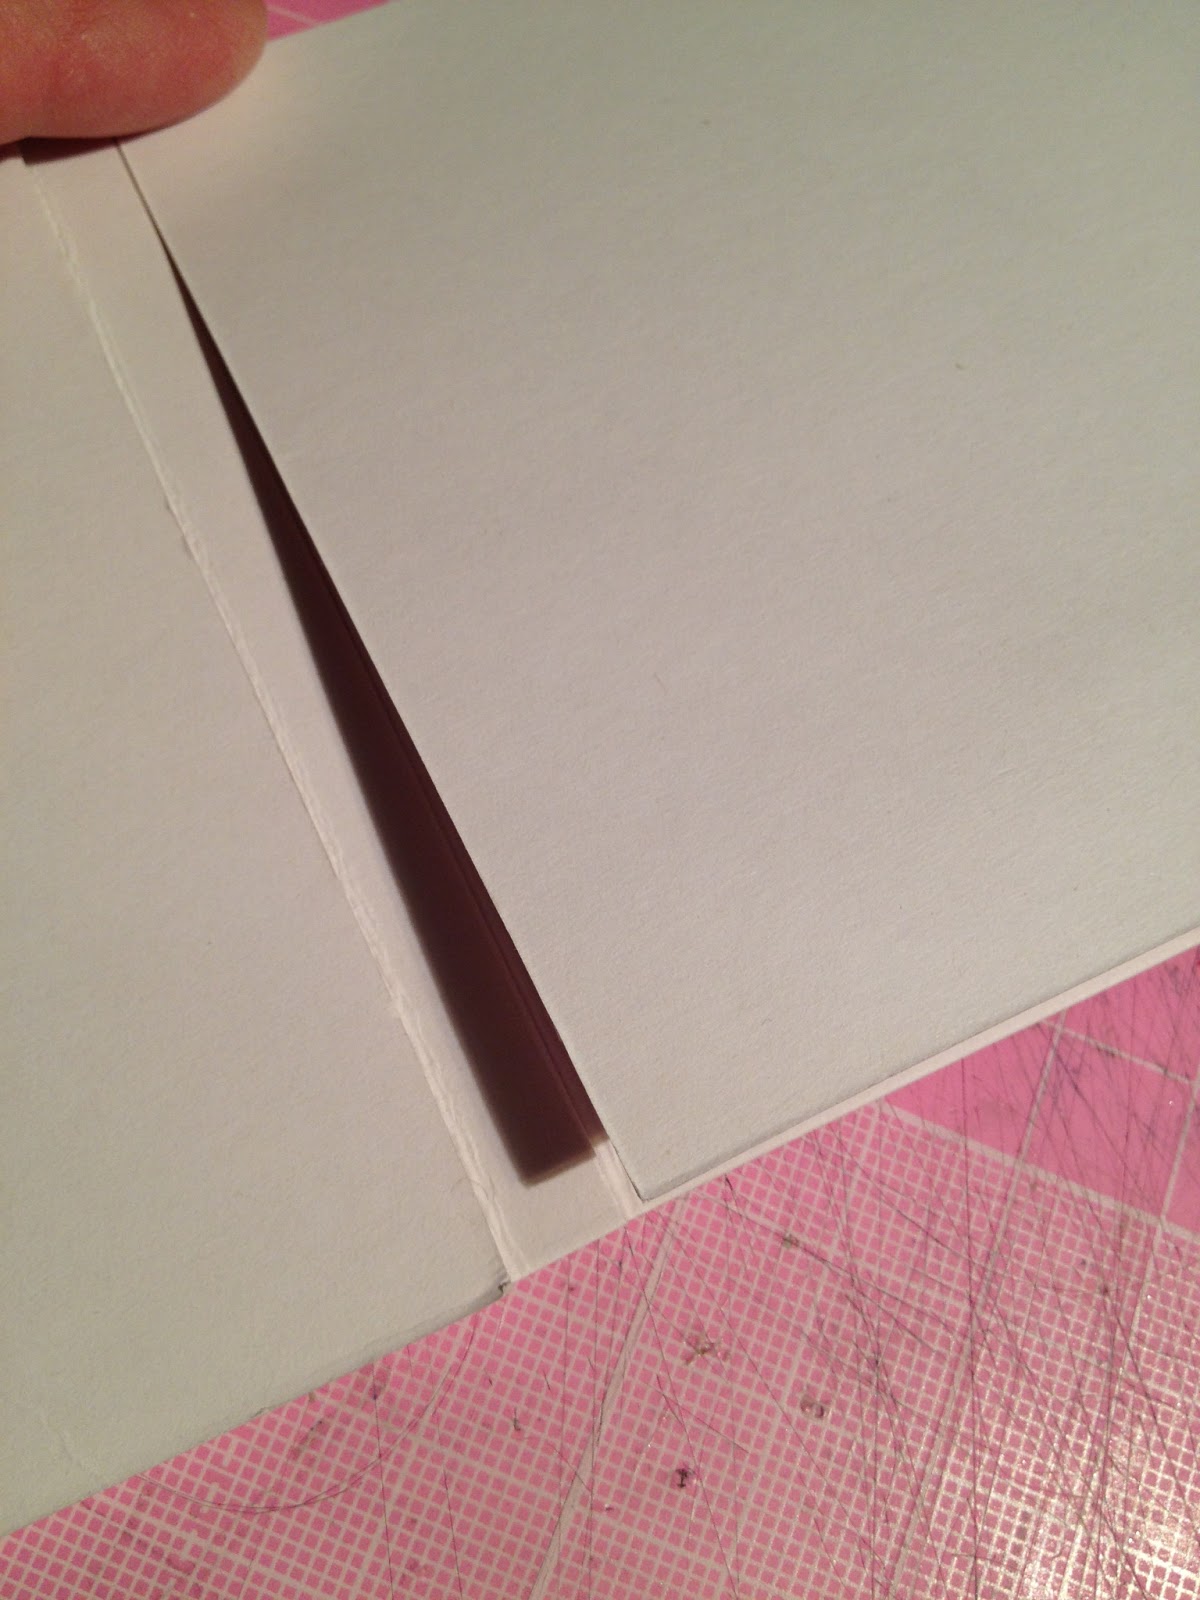
3.Glue the 2 base cards together by overlapping by 1/4in.

4. On either side of the spine score a line and fold
5. From outside edge of card measure 4in score and fold card towards centre. Repeat on opposite side

6. Take 1 of the 8 x 8 pieces of backing paper and fold in half length ways.

7. Open paper and fold on both diaganals, corner to corner.

8. Open paper

9. Using a score board score on the 2in and 6in line to form the corners
Repeat this on all 4 corners

10 Fold the paper in half again on the diaganal and push the corners in towards the centre. Repeat on all 4 corners

11. Now all the corners are folded in push from two sides towards the middle. I hope this makes sense but the scord and folded lines should make it fall into place. See picture below


12 The folded paper should now look like this.

13 Add double sided tape to either side of the folded paper.
Befroe adding anything else decorate the inside of the papers, the outside of the book. fixing the ribbon and the brad before sticking the paper inside the book.

14. Line the folded paper neatly to the scored edge of the spine of the book and press down to stick.

15 Stick the other side of the shape to the outside edge of the book.

16 Now start all over again with the second piece of paper. Repeat all of the above steps

great tutorial thank you for sharing am now a follower. Love Carol.xxx
ReplyDeletethanks for sharing - this is a lovely book card. xxxDiane
ReplyDeleteFabulous tutorial am going to give this a go, thank you hun xxx
ReplyDeleteThank you for the wonderful tutorial. I have put your blog link on my favourite task bar. 'K' xxxxx
ReplyDeleteHi this card is lovely and the tutorial very useful. thank you x
ReplyDeleteThank you all for your lovely comments xx
ReplyDelete